Step 1
Create your WPF application and then add a New Project to your solution.

Step 2
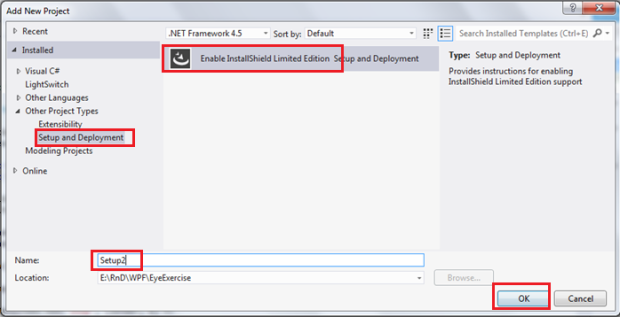
Select Other Project Types à Setup and Deployment
Select the one and only template “Enable InstallShield Limited Edition”
Click OK.
Step 3
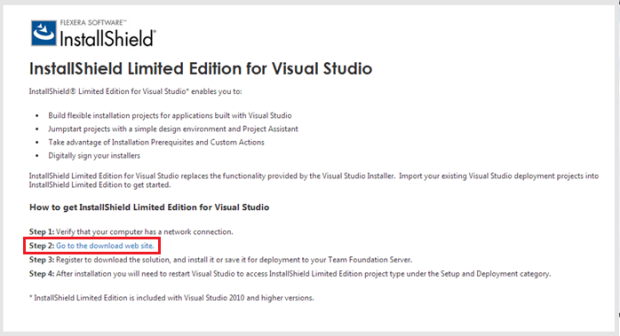
You will be navigated to a page where you need to install the InstallShield software.
Click on the “Go to the download web site.”
Step 4
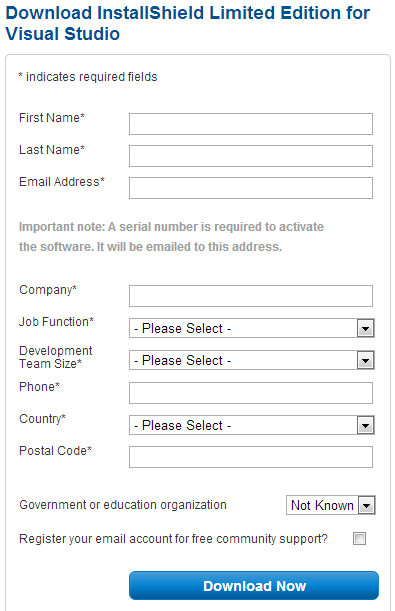
You would be navigated to Flexera Software website page. Here you need to fill up the mandatory details to download the software.

Step 5
Click on “Download Now” button to start the download.
Your download will be started. Wait a while, while your download completes.

Step 6
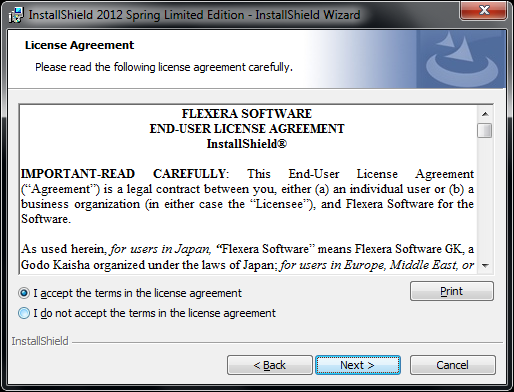
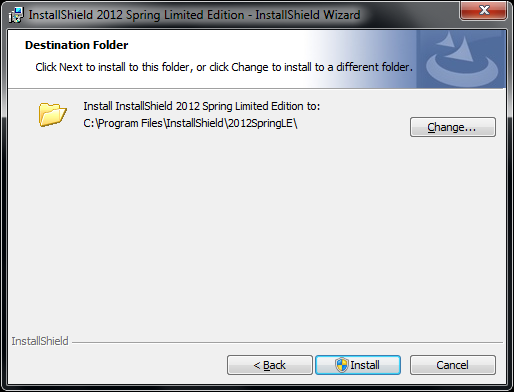
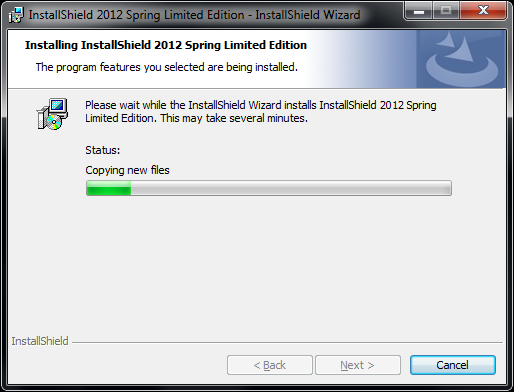
Install the InstallShiled 2012 Spring Limited Edition. Click next to proceed and accept the EULA to install.
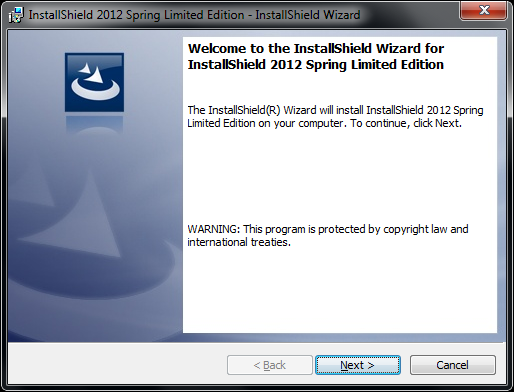
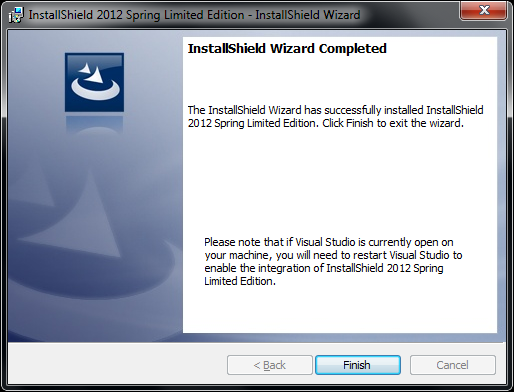
You have successfully installed the InstallShield 2012 Spring Limited Edition.
Step 7
You need to add the setup project to your solution once again.

Step 8
This time you would be asked for “InstalleShield Time-liomited Trial”.
Note that; you would be sent a License Key for your download to your related E-mail Id.
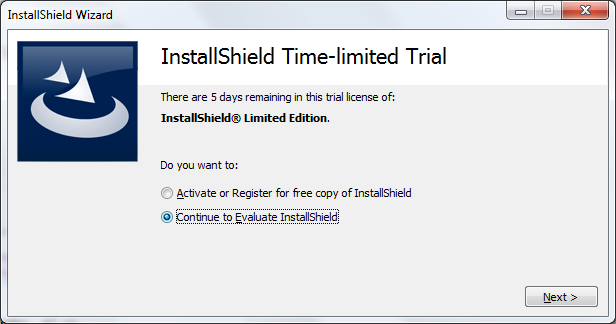
Choose based on your license key.
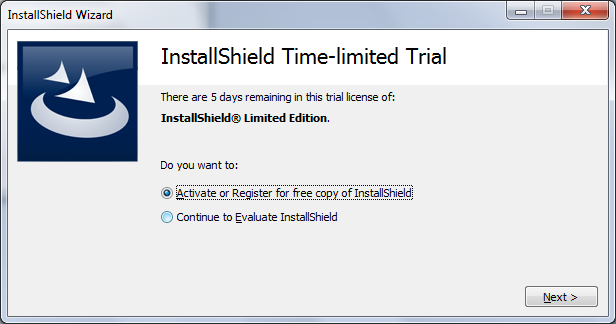
The product would be activated if you provide one; else you would be in trial mode.

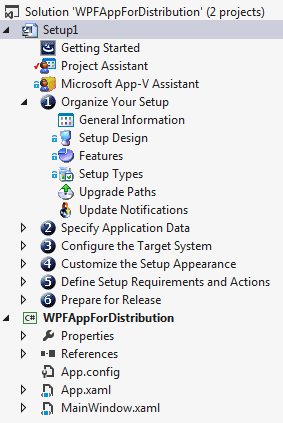
Step 9
As soon as the Setup project is created you are in home page as “Project Assistant”.

Also you can see the Setup project in your Solution.
Step 10
Click on “Application Information”
Enter setup and application related information.
You can set the followings:
- Company Name
- Application Name
- Application Version
- Company Website
- Application Icon

Step 11
Click on “Installation Requirements”
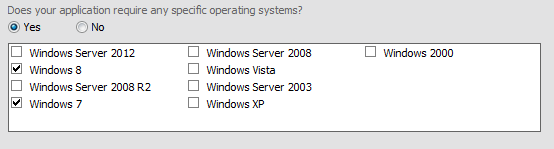
Here you can provide information about your installation requirements specific to Operation System or/and previously installed applications (software).
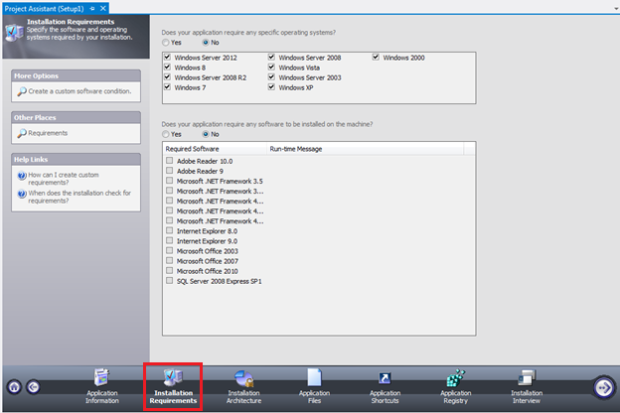
In this sample I have selected “Yes” option for Specific Operating System.
And I have selected, Windows 8 and Windows 7 as Operating Systems.
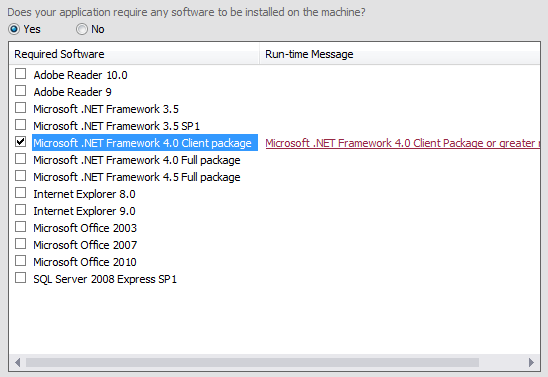
Also I have selected “Yes” for Any Software to be installed on the machine.
I have selected “Microsoft .NET Framework 4.0 Client package”
Step 12
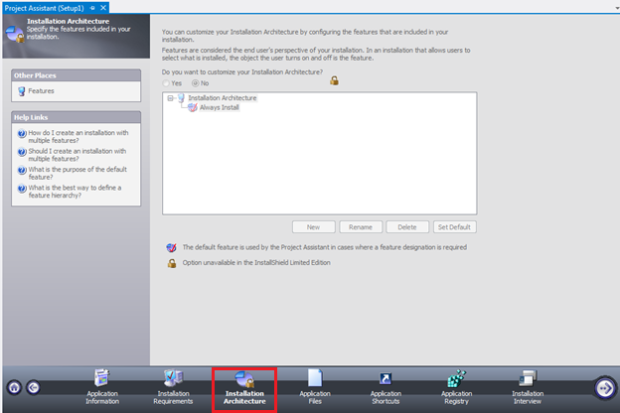
Click on “Installation Architecture”
This particular tab is disabled in Lite Edition.
All the options in this tab are disabled.
Step 13
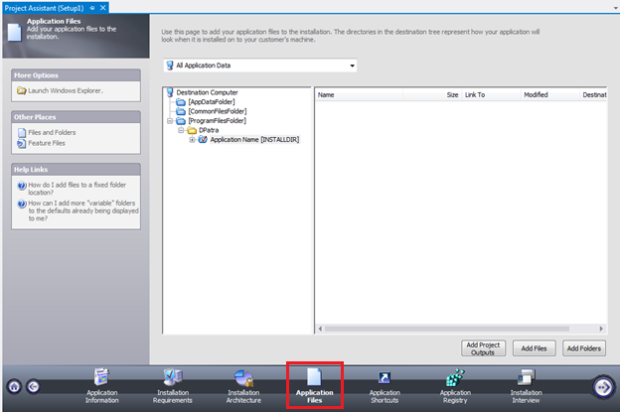
Click on the tab “Application Files”.
Step 14
Click on “Add project outputs”
A dialog with options are displayed.

Step 15
Select Content Files (If you have any content files), and Primary Output (Mandatory).
Click OK to add.

The following image shows that you have added the Content Files and Primary output to the Program Files folder.
Note that the destination is set to “INSTALLDIR”

Step 16
This is not an optional step.
Please do a build of your setup project.
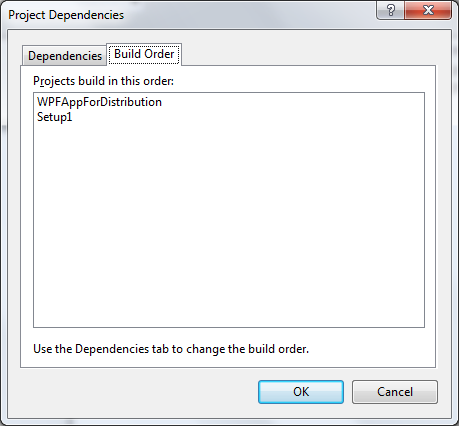
Before that you need to check the Project Build order. It should be your WPF application project first (not necessarily if you have dependency on other project) and the setup project at last.
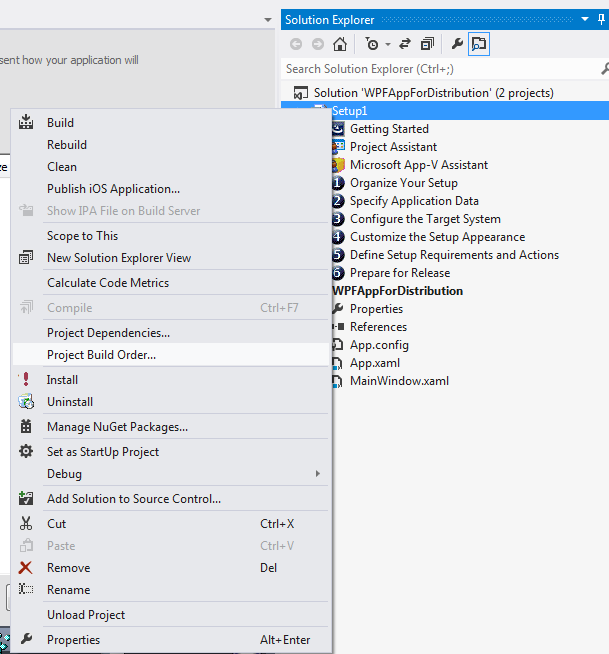
You can change the dependency tab to change the order.
Now do a build of your setup project.

In case you are getting any error, try to build the WPF project first and then the setup project. Try to fix errors if any.
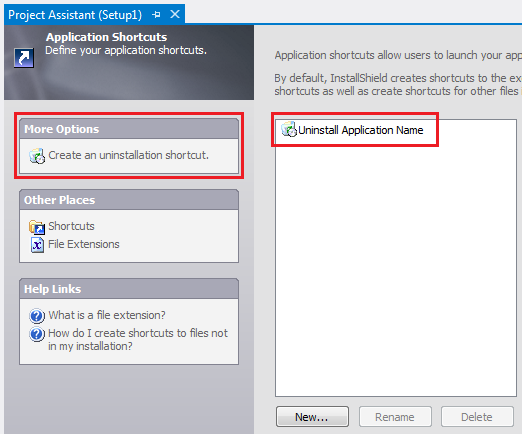
Step 17
Click on “Application Shortcuts”

Step 18
Click on Create an uninstallation shortcut.
Step 19
Create by clicking on the “New” button.
Select “ProgramFilesFolder” and click on Open.
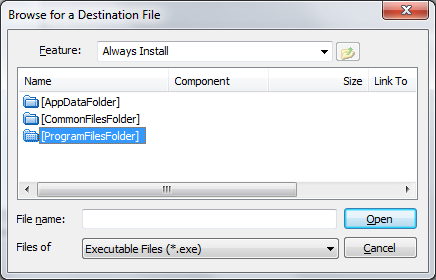
Select “<Company Name>” and click on Open.

Select “<Program Name>” and click on Open.
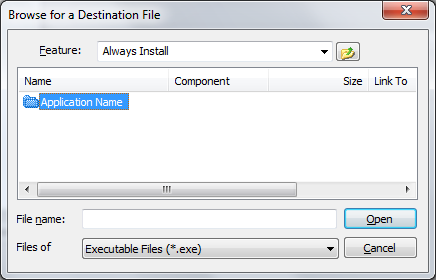
Select “Primary Output” and click on Open.

The shortcut would be added as Built.

Click rename to rename the shortcut.

You can choose the option (optional) “Create shortcut on desktop” here.

Step 20
If you need to add more shortcuts, you can click on Shortcuts link.

This is also an important step where you to select the Working Directory for your shortcut.
For Start Menu shortcut
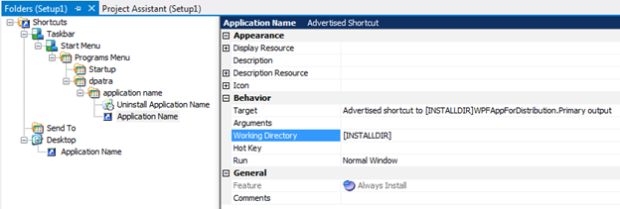
For Desktop shortcut

Step 21
You can add a new shortcut by selecting the target folder and right click on it. And select “New Shortcut”.

Browse for the Primary Output as described in step 19. Click open to add.
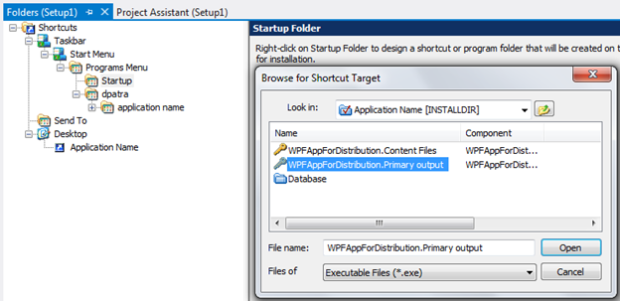
Change the working directory.

Step 22
Click on “Application Registry”
If you have any registry add/update to make you can do it here.

Step 23
Click on “Installation Interview”
This is the final steps to have options on your installer.

You can have following options such as:
- EULA (End User License Agreement)
- Prompt User for Company Name and User Name
- Modify option for installation location
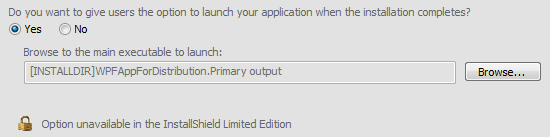
- Launch application on installation completion

If you opt for “Launch application on installation completion”; you need to browse for the Primary Output once again here.
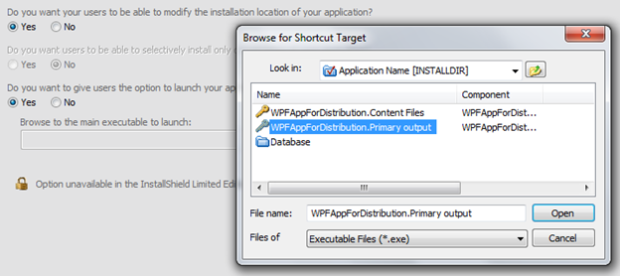
After selecting the Primary Output, it would look like following.
Step 24
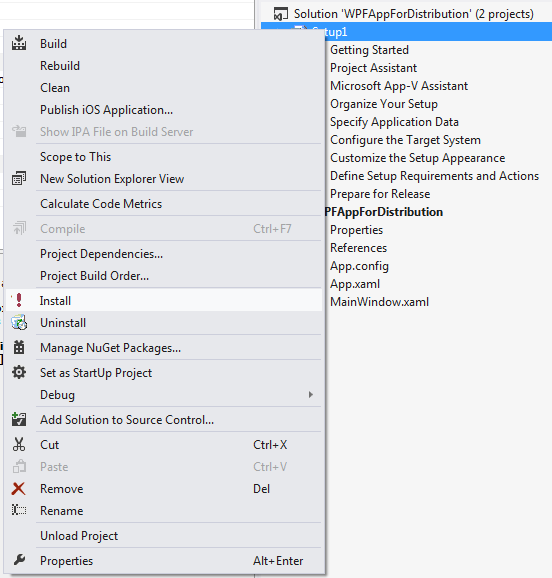
Now remember that you are in debug mode; and you have option to Install/Uninstall directly from here.
Step 25
To have a distribution copy; you need to choose Release.

Step 26
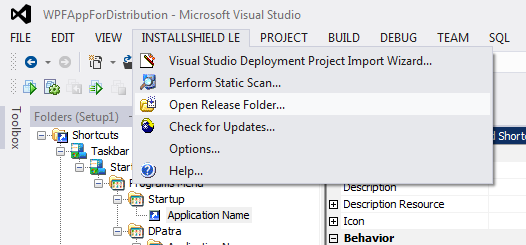
Then build the setup project.
Select InstallShield LE menu and select “Open Release Folder”
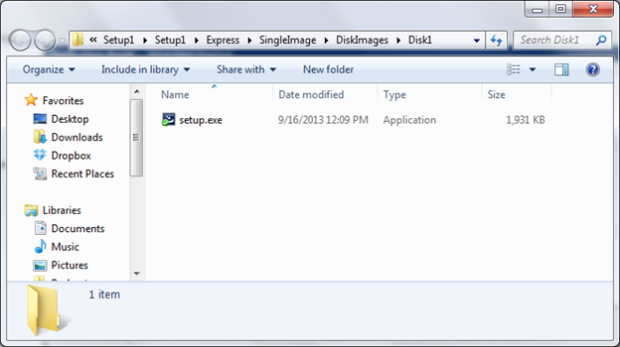
Your target folder is opened here. You could rename it and distribute.
Remember to test it once again before distribution.
No comments:
Post a Comment